Sunday, April 3, 2016

More Weathering

I haven't had much time to work on the layout, but I have been working on weathering locomotives and cars.  Most recently I have been working on weathering cars from my cylindrical covered hopper fleet.  I have installed Z scale couplers on the cars, too.

Mike Confalone's freight car weathering series on Trainmasters TV gave me some great ideas.  I used Mike's tip of using a colored pencil (Prismacolor Dark Umber) to darken the panel welds where dirt and grime seems to collect.  I also began using the Pan Pastel Artist Pastel powders after seeing Mike use them in his video series.  The powders are very fine and are different from the AIM and Bragdon weathering powders I have.  I also tried to use Mike's trick of using artist oil colors drawn down with a brush with turpentine, for the paint streaking from the "Canada" letters, but will need to practice more with that technique.


Thursday, June 4, 2015

Weathering Locomotives

Well, it's been a long while since I've done any work on the layout.  I have mostly been focused on working on the Pacific Desert Lines layout of the San Diego Society of N Scale at the San Diego Model Railroad Museum.  I've also been doing work converting quite a few of my rolling stock to Z scale couplers and installing Loksound decoders in my locomotives.

This past weekend I decided it was time to finally start weathering some of my locomotives.  I follow the Fishplate Films channel on Youtube, and Gregg did a video on weathering with washes.  I used his formula for the wash thinner (3 parts distilled water, 1 part ammonia-free Windex, 1 part denatured alcohol, and 5 drops of pure glycerine per 750ml of the distilled water/Windex/denatured alcohol solution).  I made up a batch of a black wash that was 80% thinner solution and 20% Polly S grimy black.

I chose one of my Fox Valley ES44ACs to be the first to be weathered.  I cleaned the locomotive shell using a Q-tip and ammonia-free Windex before applying black wash to the locomotive shell with a fine brush.  The wash flowed very well in all the panel lines.  I would apply the wash to the grill areas and let it sit in a pool to darken the grills per the photo I had of the prototype locomotive.  I did several applications of the wash to the grills and got them to where I thought it looked pretty close to the prototype.

I then took out the airbrush and used the washes (I added a little more paint to the mix) to spray several different layers.  I started with Polly S grimy black on the roof of the locomotive, and then I used Polly S earth on the sides of the locomotive cab and along the walkways and pilot areas.  Some weathering powders came next, using Bragdon Enterprises soot on the grills and then some earth and dark earth colors around the front sides of the locomotives.  Then I sealed it all up with a coat of Polly S clear flat.

I'm very happy with the results for this first time and know I will get even better at it with practice.


Monday, June 2, 2014

Yard Work Progressing

Work in the yard at Golden, British Columbia continues to progress.  Quite a bit of rail has been laid down and 9 switches have been laid, including the main yard ladder.  I now have five yard tracks and the main in place and ready to be connected to the switches that will lead the tracks to the helix.

I don't have the 1/2" plywood sheet fastened down, so I turned the board around so I would have easier access to work on the ladder and the yard tracks.  Slowly but surely the yard is taking shape as the track plan continues to evolve.  I am planning on having three tracks as locomotive storage and possibly refueling.  Also, where I was initially planning on having the coal car servicing building, I have decided to use those tracks for additional storage.  I instead will move the coal car servicing facility onto the other side of the yard.  The latest track plan leaves me with 9 more switches to lay before I can work on the switches on the other side of the ladder to reconnect with the main line.

I have also begun the cutting of gaps in the pc ties and attaching feeder wires while I have the yard ladder area easily accessible.  After the ties have their gaps cut, I am going to paint the ties and the rail.  I found a great way to paint the ties on Tim Horton's website on his BC Rail Dawson Creek Subdivision layout -- bcrdawsonsub.ca.  His process yielded great results, so I'm hoping my ties can look that good.  Once the ties and rails are painted, I'll lay the ballast down.  This is not how we do it at the San Diego Society of N Scale club layout (we ballast when we glue the ties down), but I felt it would be easier to paint the ties and rail first on my home layout before ballasting.  Finally, before I turn the plywood base around and screw it into place, I am also planning on installing the tortoise switch machines for the ladder and switches that will be hard to access in the back.

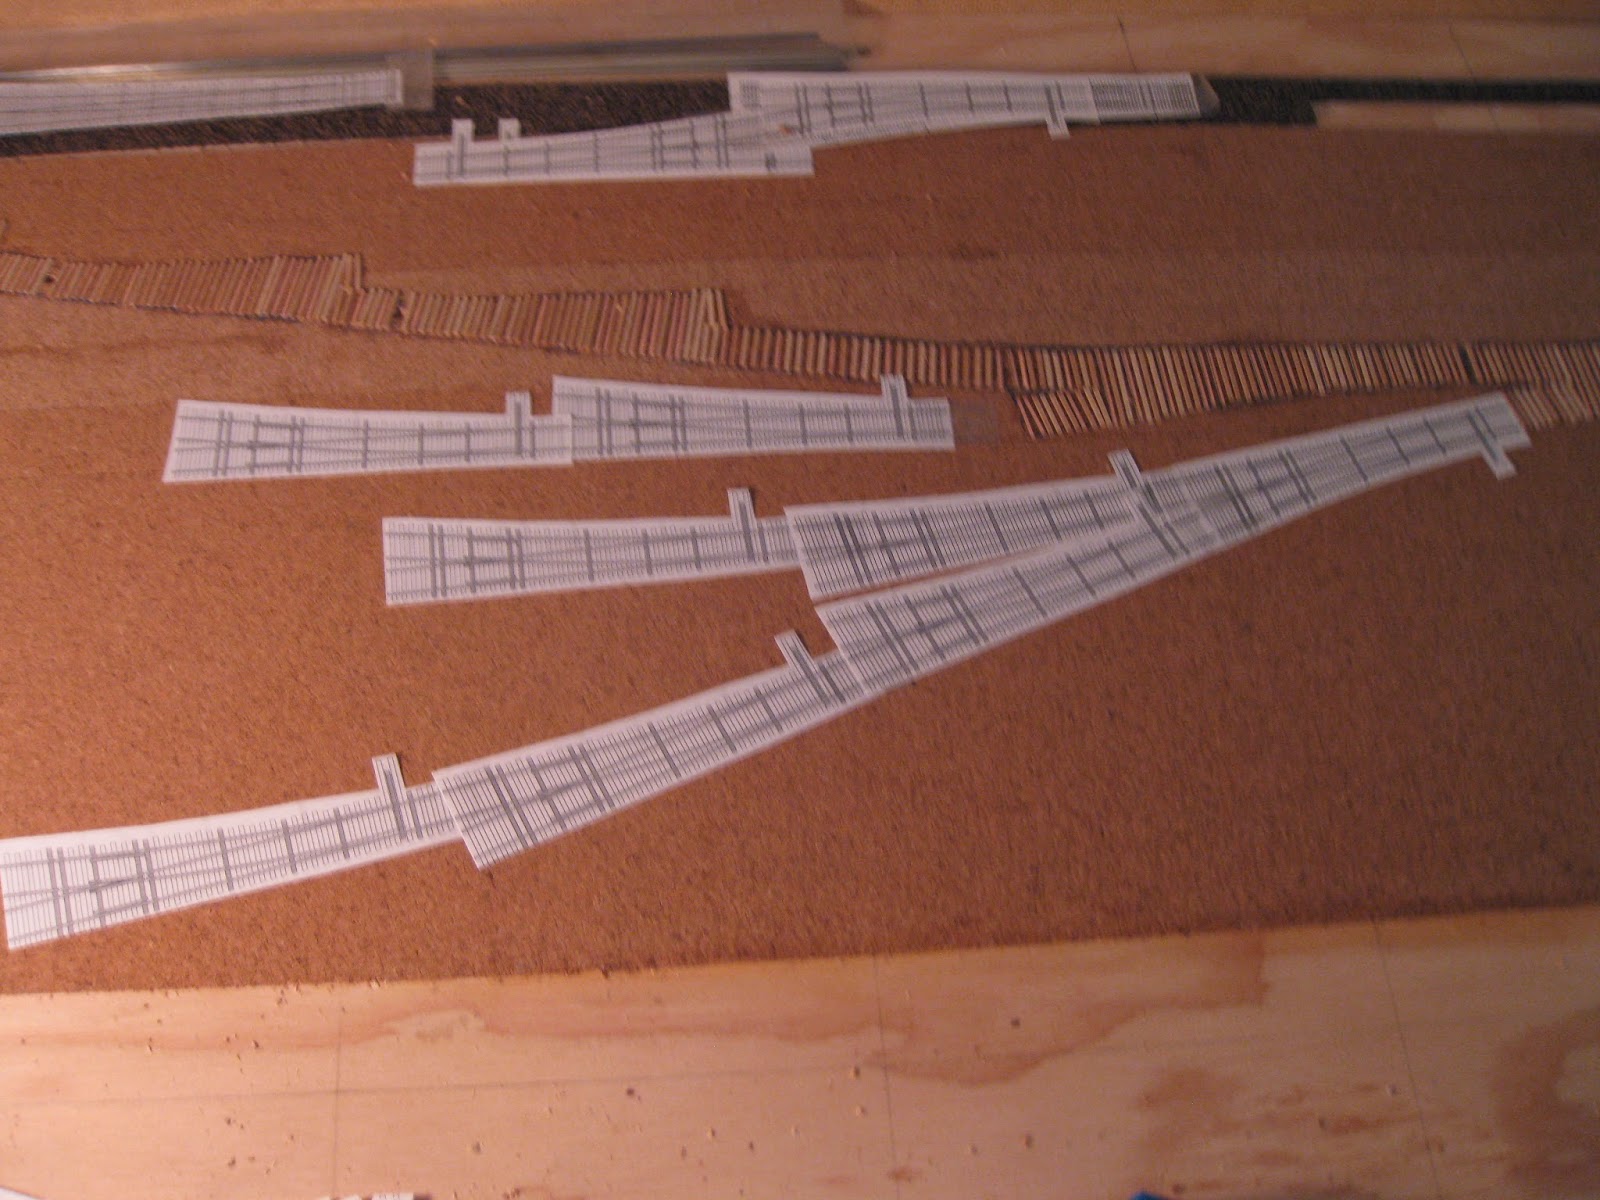
Here are pictures of the progress to date.


Monday, April 21, 2014

Tie Laying Continues

I have continued to lay down ties in the Golden, BC yard area.  After playing around with templates on the layout, I decided that I will have a locomotive run-around loop.  I have been busy working on two curved switches (#10 LH 16"/14") that have proven to be very tricky.  Once done with those, I will be moving on to the switches on the ladder that has already been laid down in preparation for rails.  I'm sure that will be another test!


Tuesday, March 25, 2014

Getting Ready to Play In the Golden Yard

Ties have now been laid for my ladder in the yard. The yard is laid on cork shelf liner from Contact Paper. It is 1/16" high, half of the height of the N scale cork that my main line is set on. Being Contact shelf liner, it has an adhesive backing, but I also added wood glue to really hold it down.

Right now I'm playing a bit with templates trying to figure out how many additional tracks I want on the other side of the ladder. This will give me tracks that will store locomotives, additional freight cars, and lead into the repair facility I am planning.

Thursday, March 13, 2014

First Rail Laid

I have laid my first section of rail on the lower level. This section includes a RH #8 switch.

The Canadian Pacific in Western Canada layout gets started

My N Scale layout will be based on the Canadian Pacific Railway from Golden, British Columbia to Rocanville, Saskatchewan. The footprint of the layout is an 8 foot by 7 foot L-shape with a maximum depth of 36”. The layout will be two levels with a 15” difference between levels connected by a five-turn helix. The lower level will be taken up by a staging yard based on Canadian Pacific’s yard at Golden, British Columbia. All of this in a 1-bedroom condo!

Lower Level: The lower level will be hand-laid using Micro Engineering Code 55 rail with some Atlas Code 55 rerailers used in hard to reach areas. The yard will be six tracks and will have a coal hopper servicing shop.


Helix: Once leaving the yard in Golden, trains will travel up a helix (the spiral tunnels) to the upper level. The helix will consist of two tracks of Atlas Code 80 flex track making five turns, gaining 2.5” each turn, for a total elevation gain of 12.5”. The outside track will have a radius of 16” and the inside track will have a radius of 14.5 inches.

Upper Level: Once emerging from the helix, trains will travel up an additional 2.5” along two hidden tracks hand-laid using Micro Engineering Code 55 rail. Once emerging from the hidden tracks, the track will be hand-laid using Micro Engineering Code 40 rail. The track will gain another 2.5” above the helix location simulating the Canadian Rockies, with an appearance by Morant’s Curve. Continuing on the track will descend into the Alberta plains where several grain elevators will await. The track will then continue to the Potash Corporation of Saskatchewan’s facility in Rocanville, Saskatchewan.